Last week I was visiting Fronteers 2013 conference in beautiful Tuschinsky cinema in Amsterdam. At the conference, Paul Lewis had a presentation on browser rendering performance. He showed a slide which contained an animation that showed how a browser calculates and paints the screen. Some people on twitter were wonderin how this animation was created. It appeared to be a modified Firefox build. The visualization of paint events cought my interest and I was curious if it was possible to catch Chrome paint events and animate them myself.
I posted a question during #fronteers13 wether this was possible, but a response from Jake Archibald suggested this was not possible, but that I could save the content from the Devtools Timeline as JSON. This was a somewhat unfortunate answer for me. But the fortunate side of it was that I kept searching, and ureka!, I’ve found a way to animate paint events!
Disclaimer: the results here are very basic, but they work.
Setup
Let’s get started. First of all, create a Google Chrome extension. Directory layout:
├─ html
│  ├─ background.html
│  └─ follow.html
├─ js
│  ├─ vendor
│  │  └─ jquery-2.0.3.js
│  ├─ background.js
│  └─ follow.js
├─ icon.png
└─ manifest.json
Create these files as empty files, except jQuery, which you can download. The icon.png can be any 32x32px icon.
What did the trick? In the manifest.json you have to grant your extension permissions to use the debugger API.
{
  "manifest_version": 2,
  "name": "Show paint events",
  "version": "0.1",
  "permissions": ["tabs", "activeTab", "debugger"],

  "browser_action": {
    "default_icon": "icon.png"
  },

  "background": {
    "page": "html/background.html",
    "persistent": true
  }
}
From the debugger API you can get a lot of information. And indeed also paint events from the Timeline! But before we can grab them, let me explain what the approach is.
I want my extension to have one button, a Browser Action, and when I click it, I want the extension to open a new tab with an HTML page, in this case follow.html in which I will draw the paint rectangles based on information I receive from the debugger. First I’ll show you the easiest pages: background.html and follow.html. For a matter of development speed, the styles are in the head tag of follow.html.
<html>
<head>
<script src="/js/background.js"></script>
</head>
<body></body>
</html>
<html>
<head>
<title>follow paints</title>
<script src="/js/vendor/jquery-2.0.3.js"></script>
<script src="/js/follow.js"></script>
<style>
body {
position: relative;
margin: 0;
padding: 0;
}
div {
padding: 0;
margin: 0;
box-sizing: border-box;
border: 1px solid rgba(200,0,90,.3);
background: rgba(200,0,90,.01);
}
span {
color: rgba(200,0,90,1);
font-family: Helvetica, Arial, sans-serif;
font-size: 10px;
display: none;
}
div:hover span {
display: inline;
}
</style>
</head>
<body>
</body>
</html>The receiving end
But what does the magic? The follow.js file contains a message listener and a plain old Javascript function that creates some DOM elements which are appended to the <body>. The listener verifies whether the received response contains an object with a specific property, and if so, it will pass it to drawSquare().
var z = 1;

chrome.runtime.onMessage.addListener(function (request, sender, sendResponse) {
  if (typeof request === 'undefined') {
    return;
  }
  if (request.data && request.data.clip) {
    drawSquare(request.data.clip);
  }
  if (request.clear === true) {
    jQuery('body *').detach();
  }
});

var drawSquare = function drawSquare(coords) {
  if (coords.length === 8) {
    var block = jQuery('<div/>'),
      w = coords[2] - coords[0],
      h = coords[7] - coords[1],
      t = coords[1],
      l = coords[0];
    block.css({
      width: w + 'px',
      height: h + 'px',
      position: 'absolute',
      top: t + 'px',
      left: l + 'px',
      'z-index': z++,
    });
    var content = jQuery('<span/>');
    content.html('Size: ' + w + 'px x ' + h + 'px');
    jQuery(document.body).append(block.append(content));
  }
};
The sender
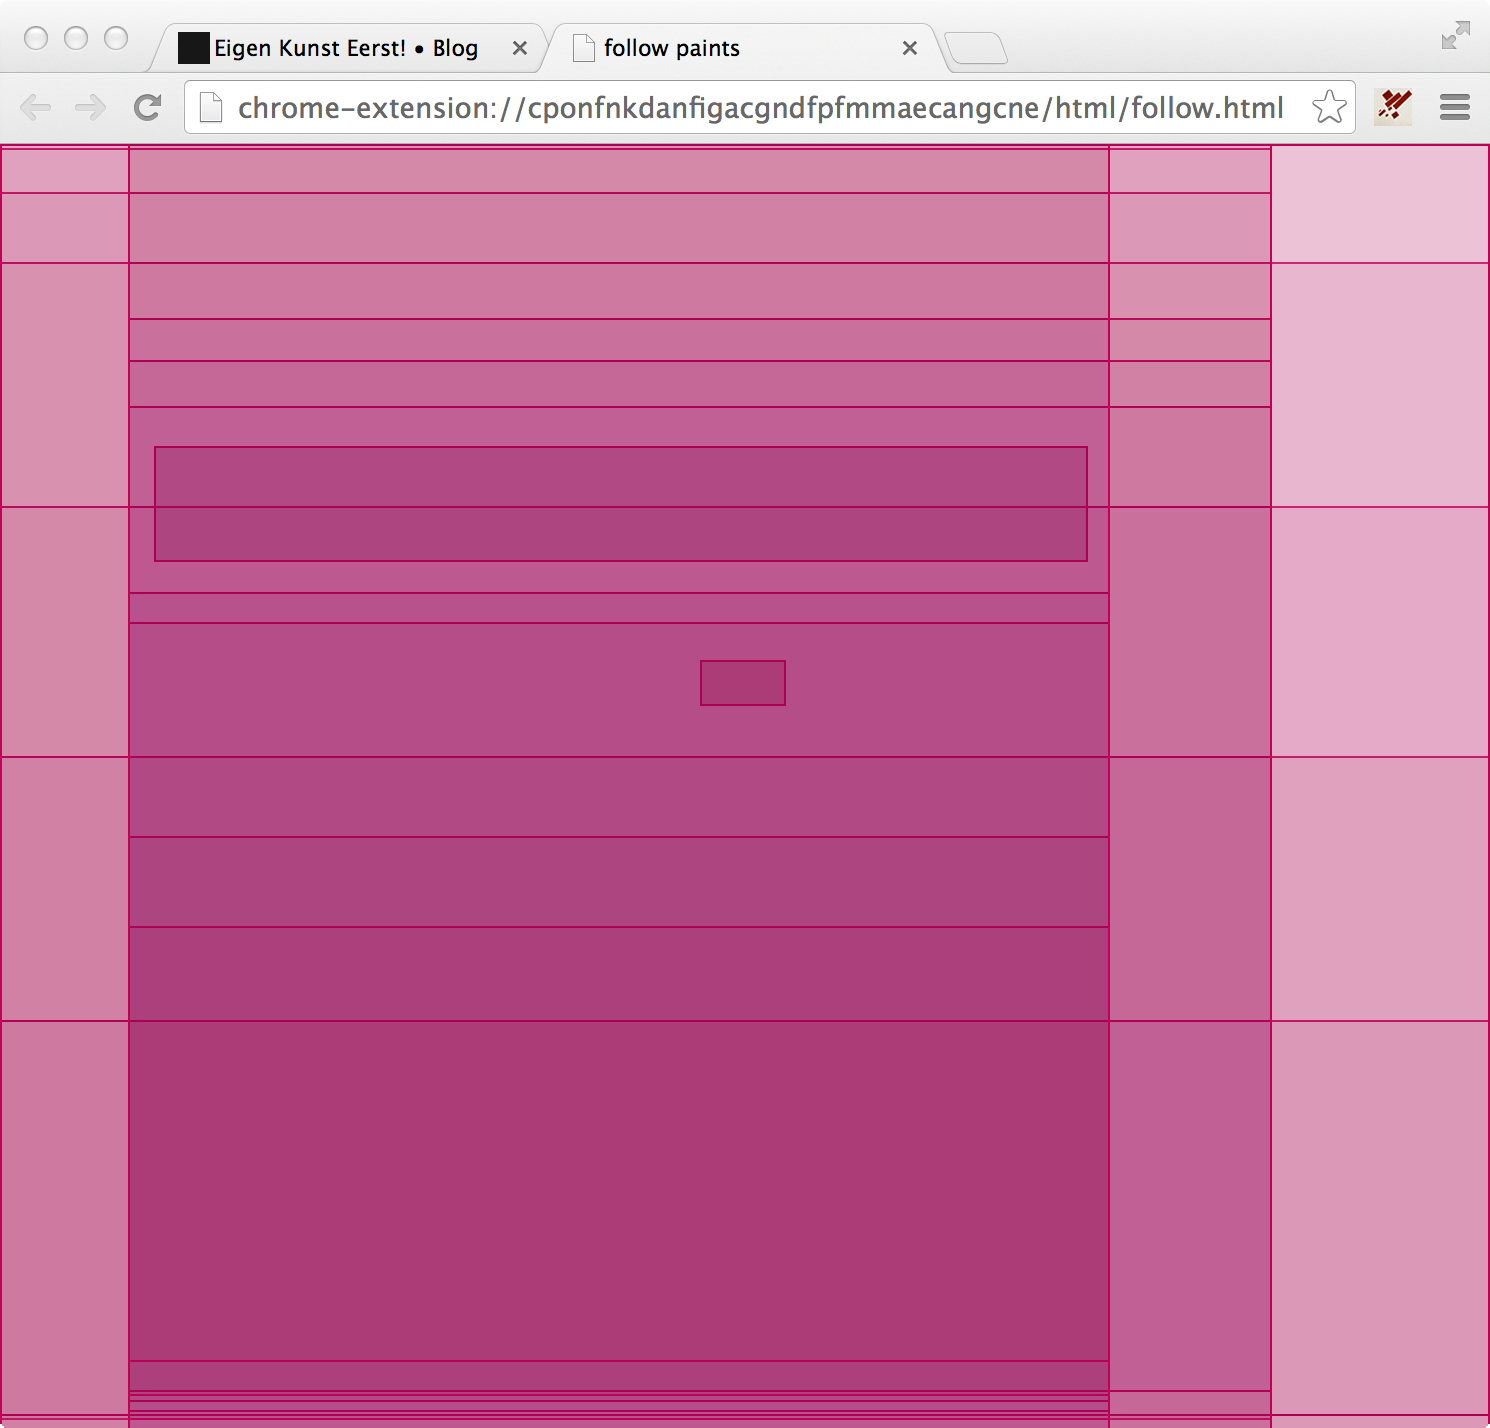
So much for the paint event follower. Then the background.js. Here we will listen for a Browser Action click and when we receive it, we will kick start the debugger and listen for it’s response. When we receive a response, we pass it to follow.js, which, as said above, will render squares.
var followUrl = chrome.extension.getURL('/html/follow.html');

var createFollow = function createFollow() {
  chrome.tabs.create({ url: followUrl, active: false }, function (tab) {
    chrome.tabs.sendMessage(tab.id, { clear: true }, function (response) {
      console.log(response);
    });
  });
};

var sendToFollow = function sendToFollow(obj) {
  chrome.tabs.query({ url: followUrl }, function (tabs) {
    if (tabs.length === 1) {
      var followTab = tabs[0];
      chrome.tabs.sendMessage(followTab.id, obj, function (response) {
        console.log(response);
      });
    }
  });
};

var checkAvailable = function checkAvailable() {
  chrome.tabs.query({ url: followUrl }, function (tabs) {
    if (tabs.length === 0) {
      createFollow();
    } else if (tabs.length === 1) {
      chrome.tabs.sendMessage(tabs[0].id, { clear: true }, function (response) {
        console.log(response);
      });
    }
  });
};

var running = false;
var protocolVersion = '1.0';

chrome.browserAction.onClicked.addListener(function (tab) {
  var tabId = tab.id;
  if (running === false) {
    checkAvailable();

    chrome.debugger.attach(
      {
        tabId: tabId,
      },
      protocolVersion,
      function () {
        running = true;

        if (chrome.runtime.lastError) {
          console.log(chrome.runtime.lastError.message);
          return;
        }

        chrome.debugger.sendCommand(
          {
            tabId: tabId,
          },
          'Timeline.start',
          { maxCallStackDepth: 5 },
          function (response) {
            // listening for responses from Timeline
            chrome.debugger.onEvent.addListener(function (
              response,
              method,
              params
            ) {
              if (!params.record) {
                return;
              }
              var children = params.record.children;
              if (children.length > 0) {
                for (var i = 0; i < children.length; i += 1) {
                  if (children[i].type === 'Paint') {
                    // when type equals Paint, I want to do something
                    sendToFollow(children[i]);
                  }
                }
              }
            });
          }
        );
        chrome.debugger.onDetach.addListener(function (source, reason) {
          running = false;
        });
      }
    );
  } else {
    chrome.debugger.detach(
      {
        tabId: tabId,
      },
      null
    );
    running = false;
  }
});
The function createFollow will create the tab and send a clear message to it. The sendToFollow method simply messages anything it get passed to the follower. checkAvailable will verify wether follow.html is present in a tab, if not, it will create it, if it exists, it will send a clear message. And chrome.browserAction.onClicked.addListener will attach a debugger to the current tab, will send a Timeline.start command and will listen for a response. Any response from chrome.debugger.onEvent.addListener that looks like a Paint event, will be sent to the follower. When you run this extension, the result may somewhat look like this: